Custom Wooden Coffee Cup Sleeve
UPDATE: NEW & IMPROVED SLEEVES!
I made these over a year after the one below. Pretty much, here are the steps:
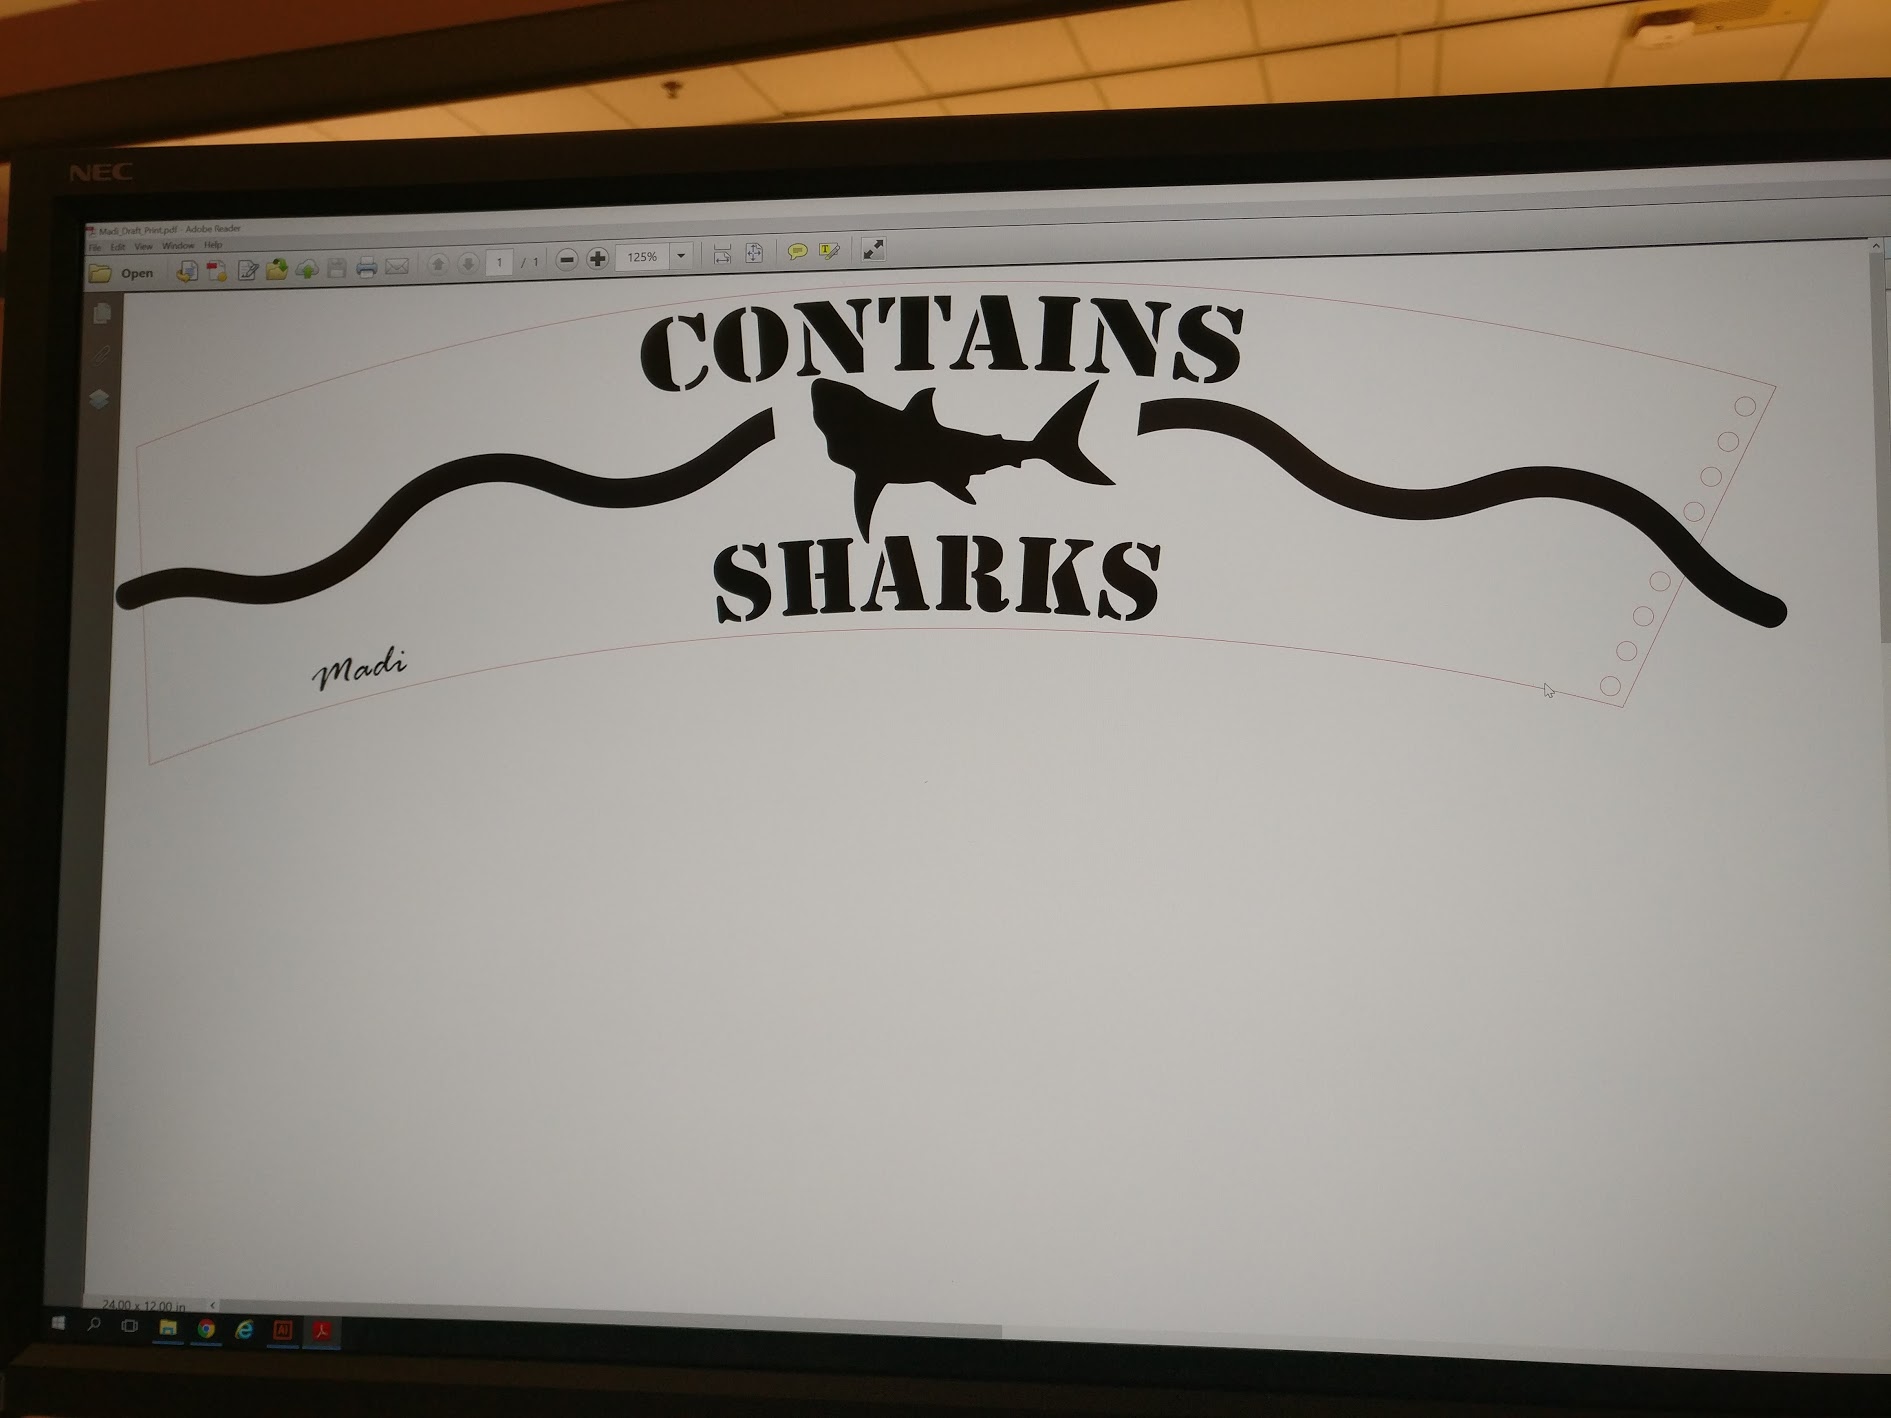
- Come up with a design using the template using Illustrator, w/ proper RGB values for rastering and cutting. Make sure to cut as shallow as you possibly can whilst still seeing the cut design.
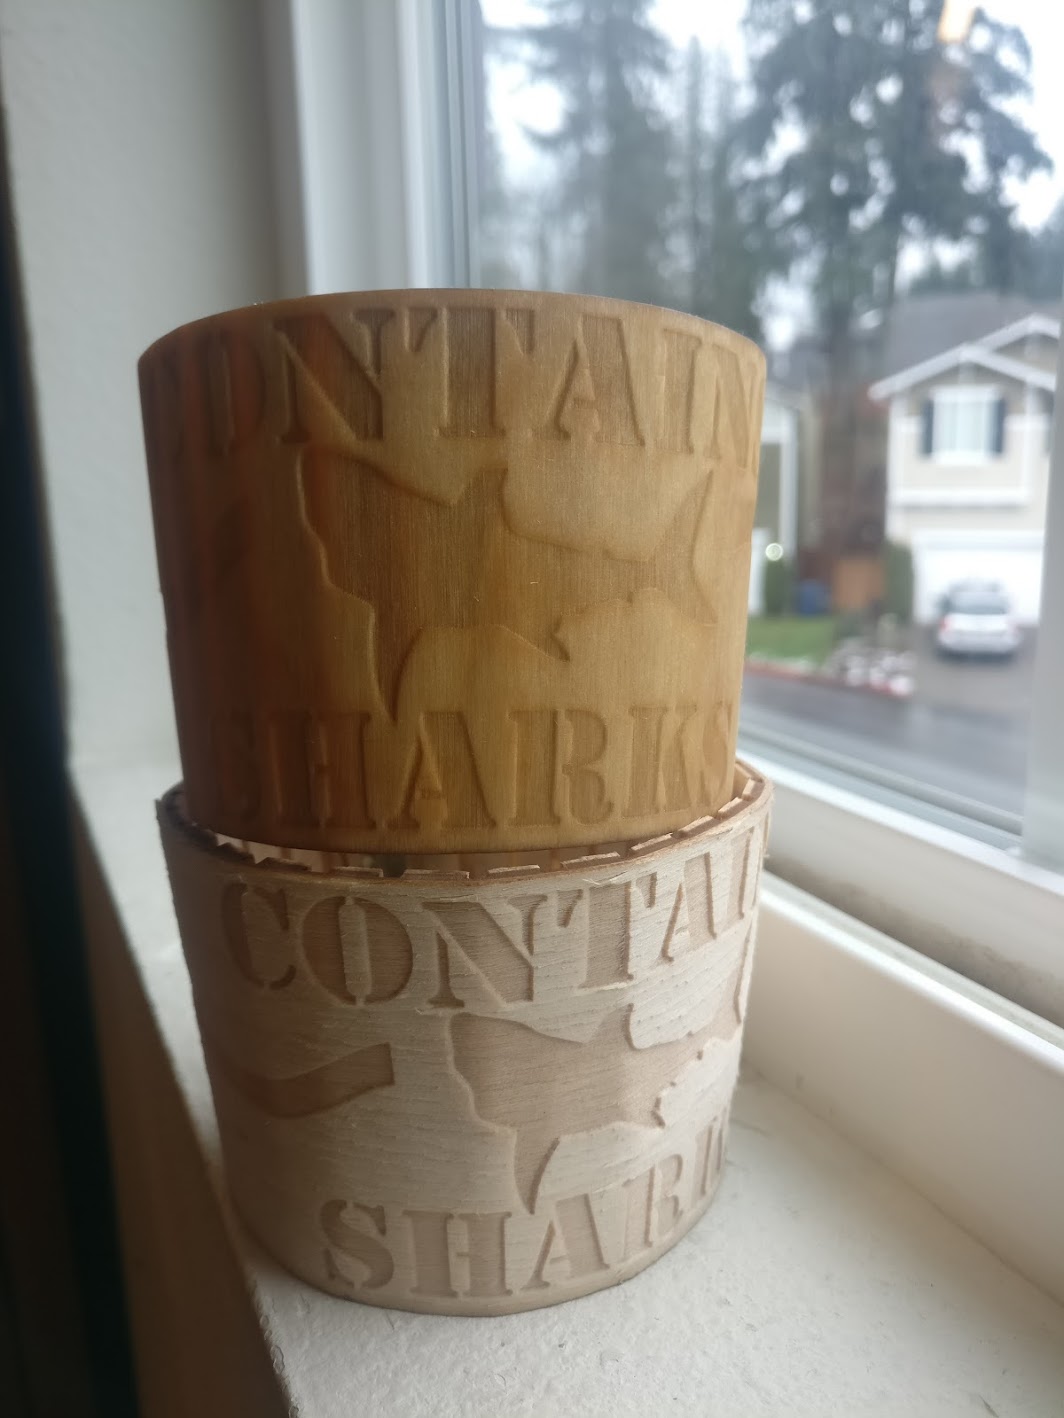
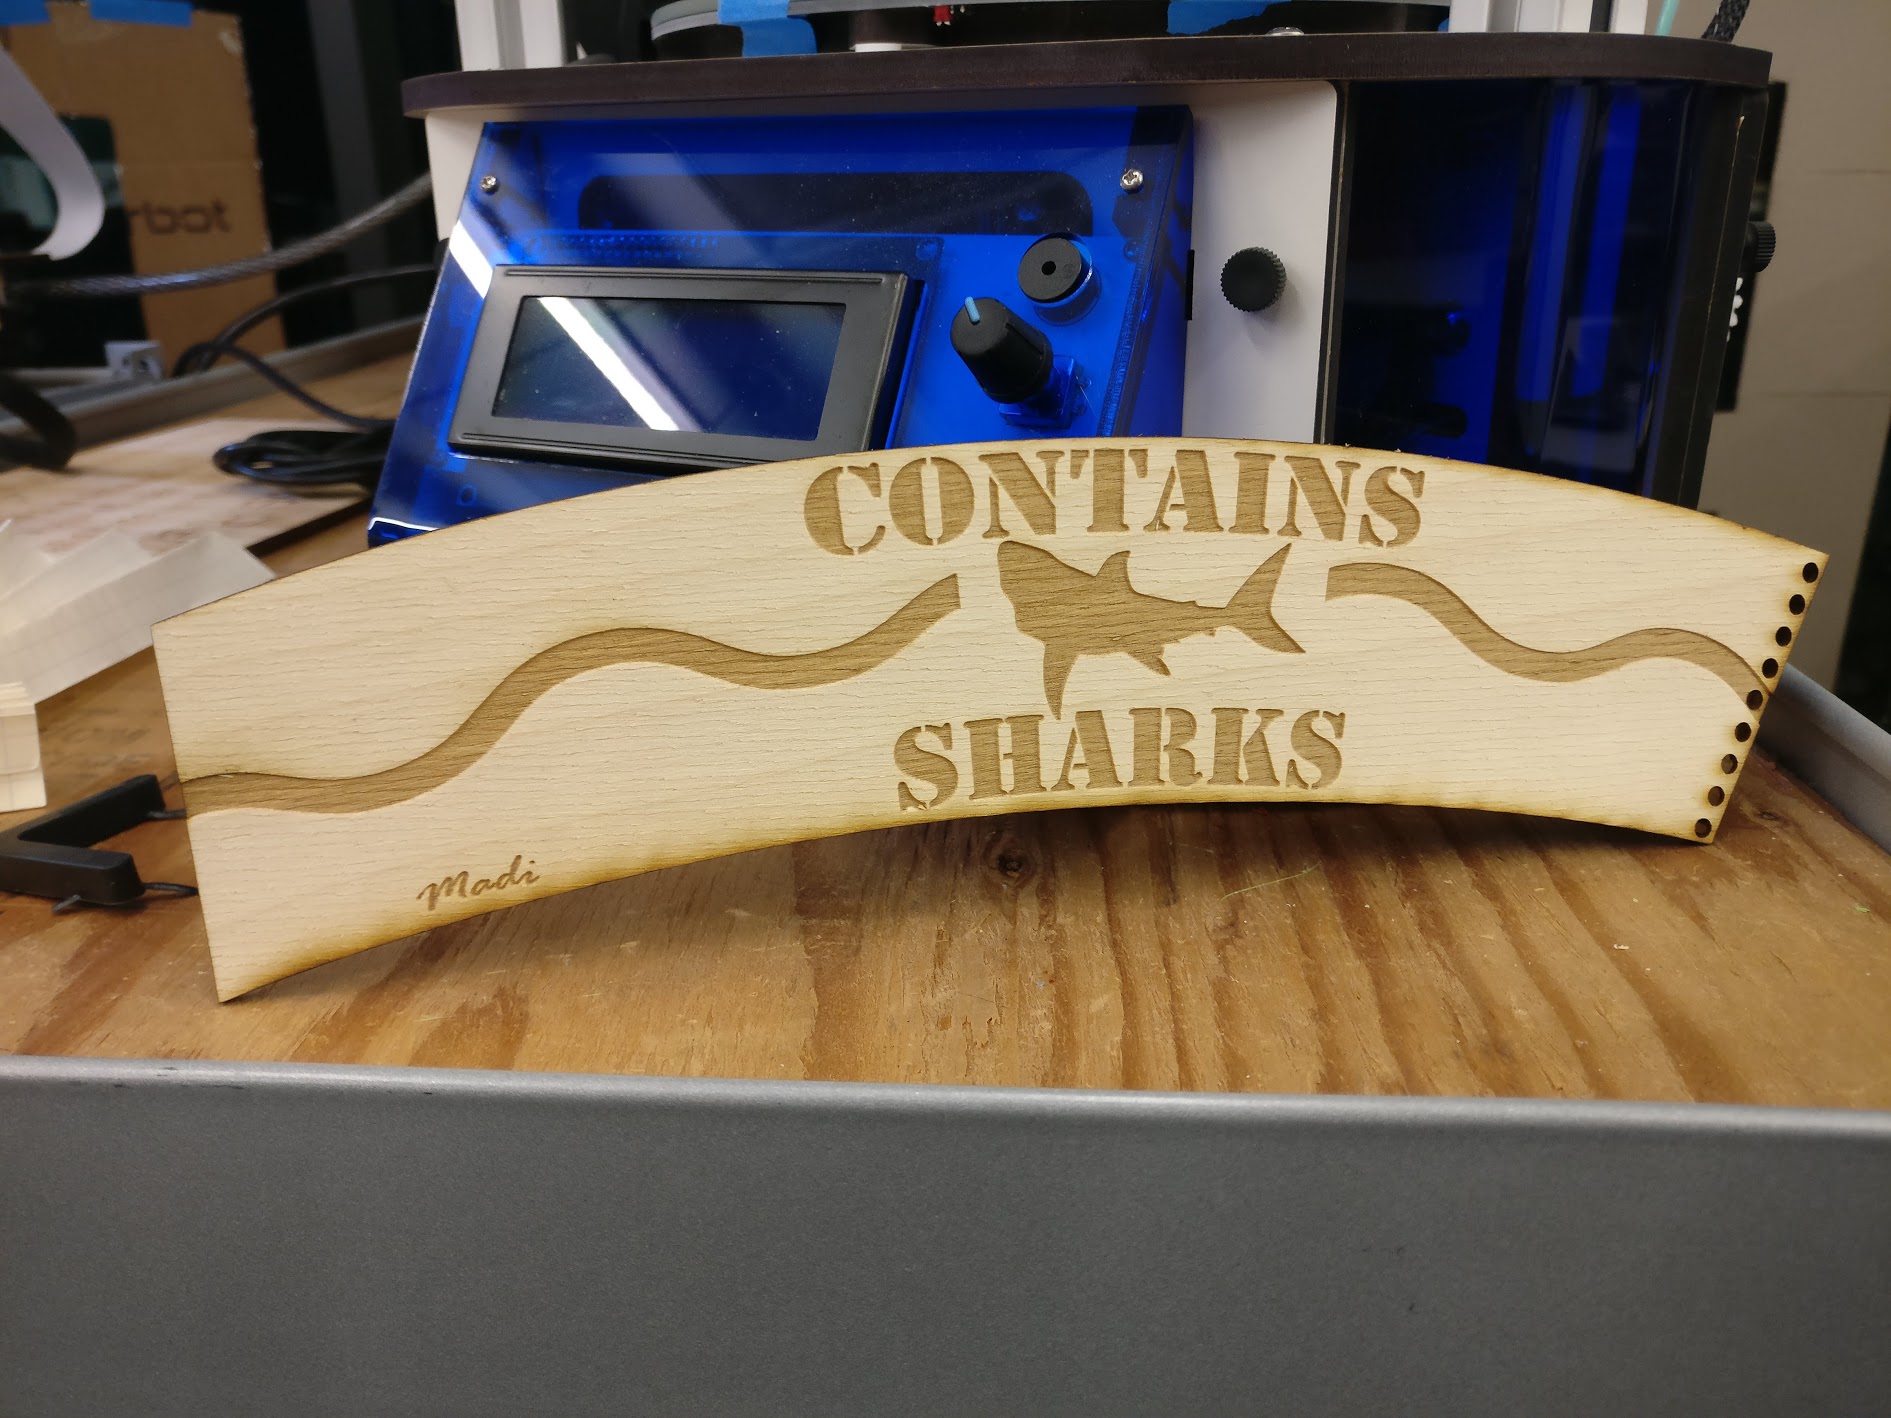
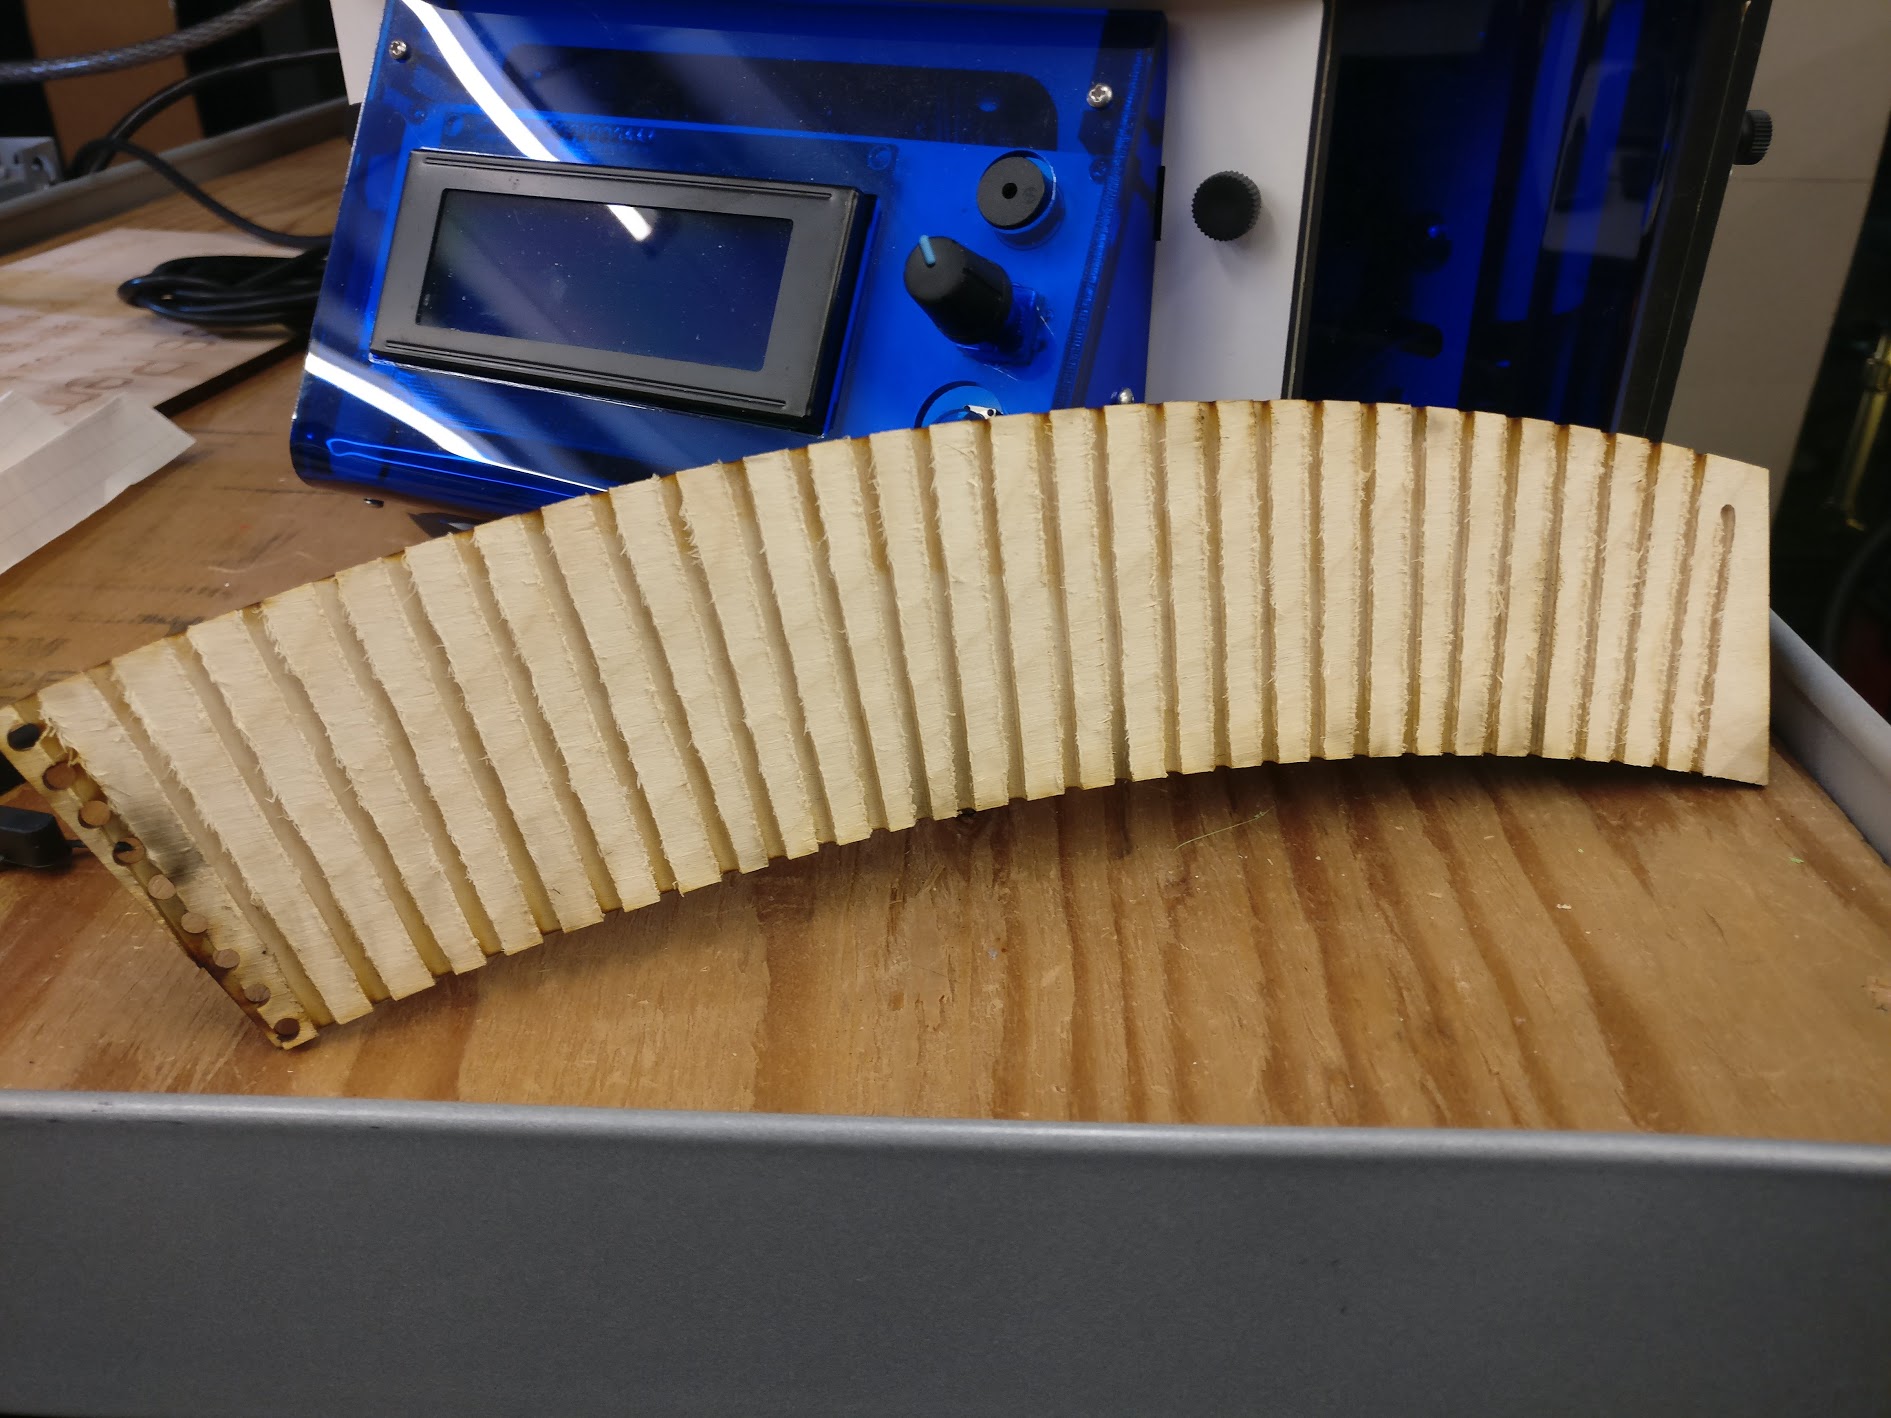
- Cut and engrave the design on 1/8th inch birch plywood. IT IS MUCH EASIER IF THE GRAIN ALIGNS WITH THE VERTICAL (so that it bends far more easily). Otherwise, if you want to go challenge mode and make a grainy, rustic beach-wood look that's SIGNIFICANTLY harder to bend (needs to be kerf cut much deeper and bent more carefully), then you can have the grain go horizontally/ around the cup. You can see the difference in the pictures.
- Make your kerf cuts - I keep forgetting the numbers but I leave this one up to experimentation. Use a CNC machine like the Carvey.
- Ensure that kerf cuts are even and not too deep or shallow - you want to cut just into the wood so you have that last ply remaining.
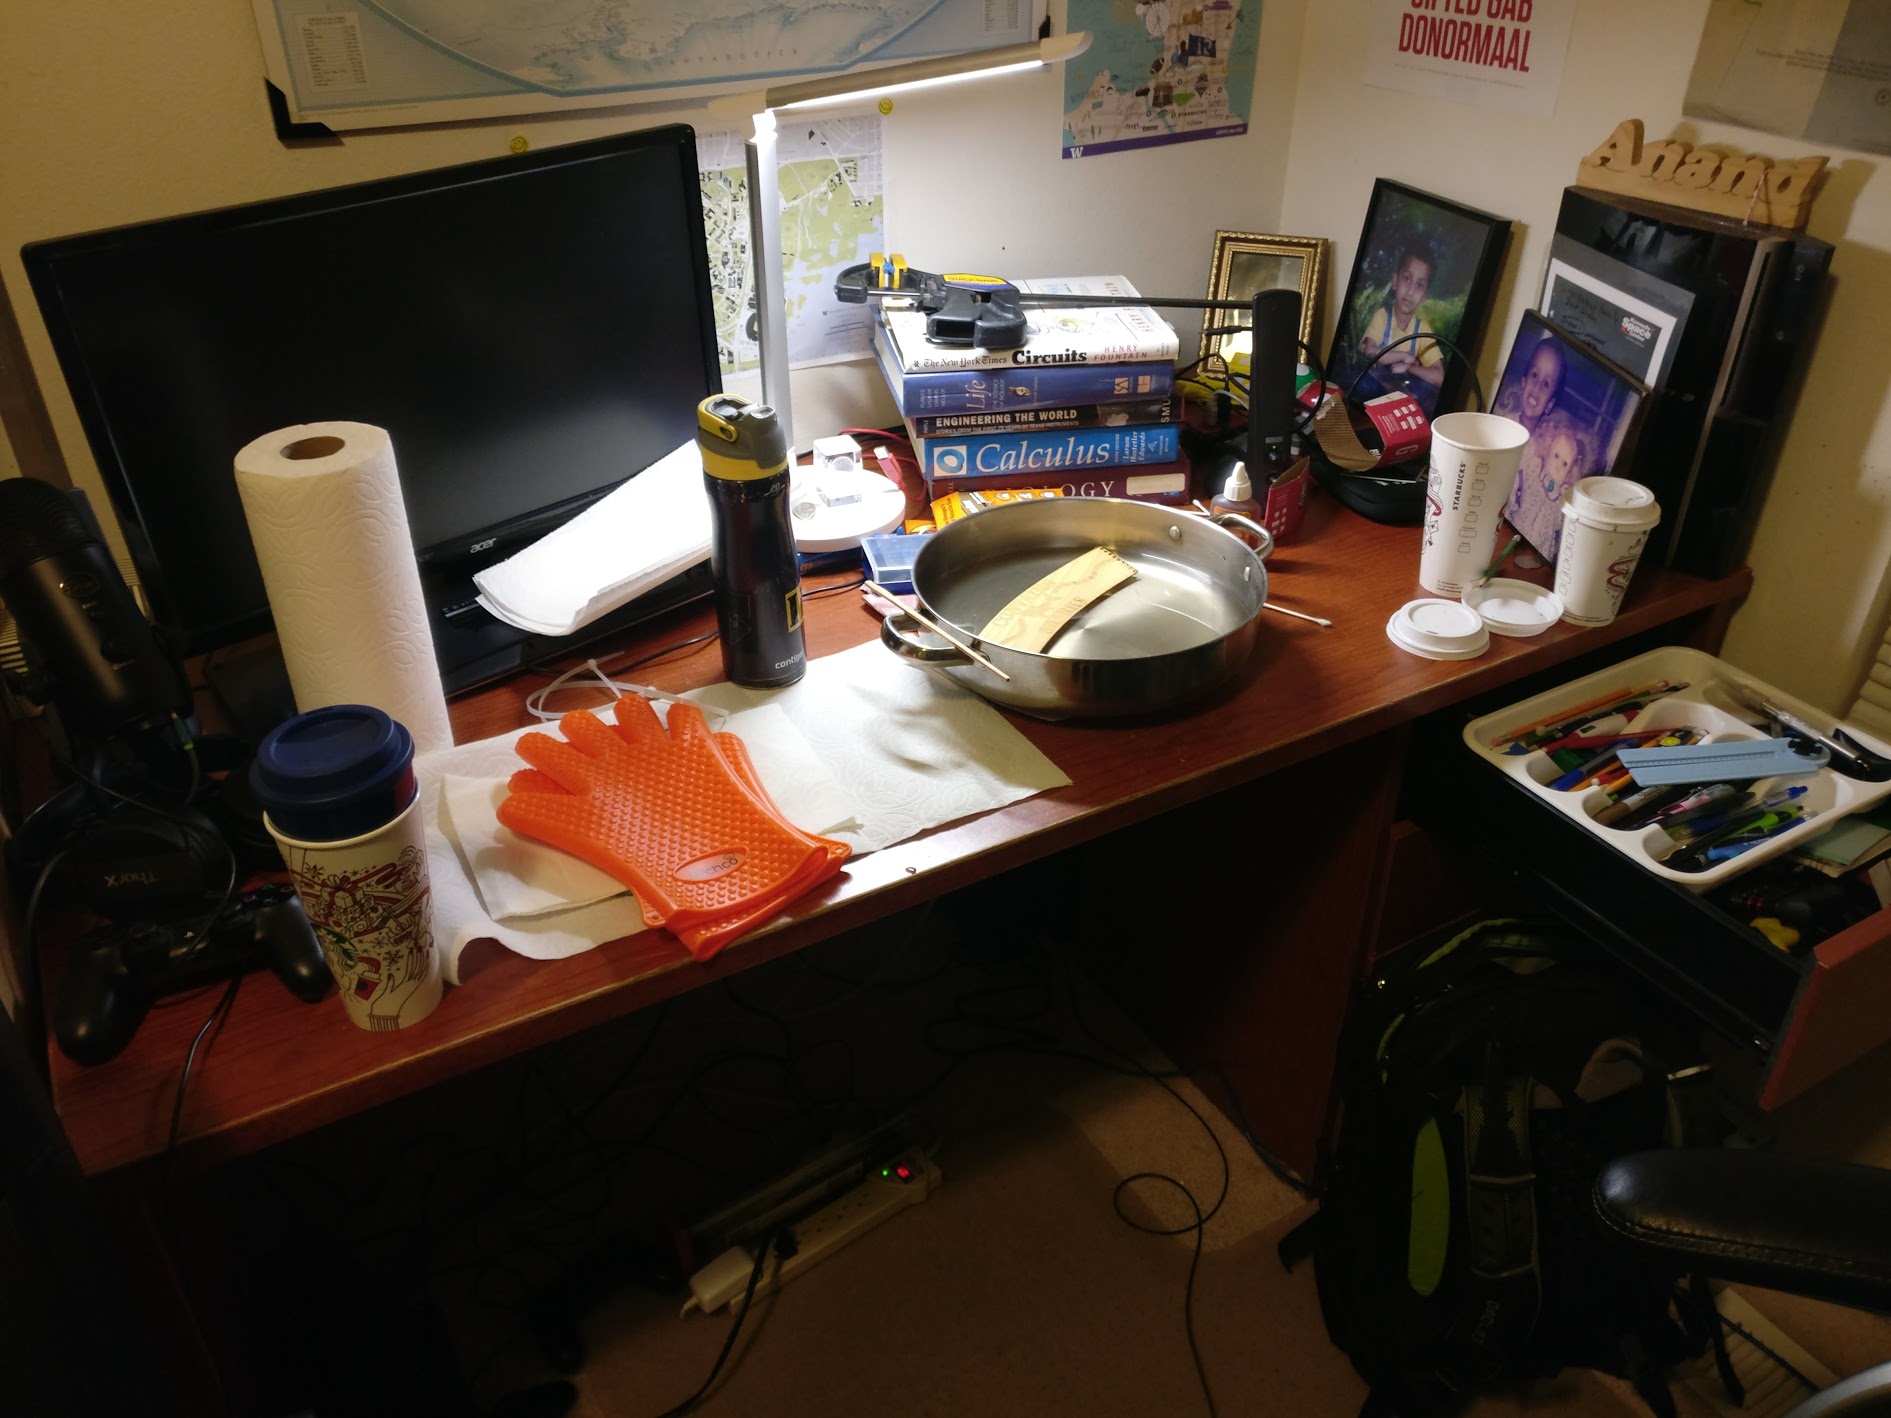
- Boil water, and get a big flat dish wide enough to fit the wood, a heat pad, heat-proof gloves, a stick, and have your solid cup w/ clamp nearby.
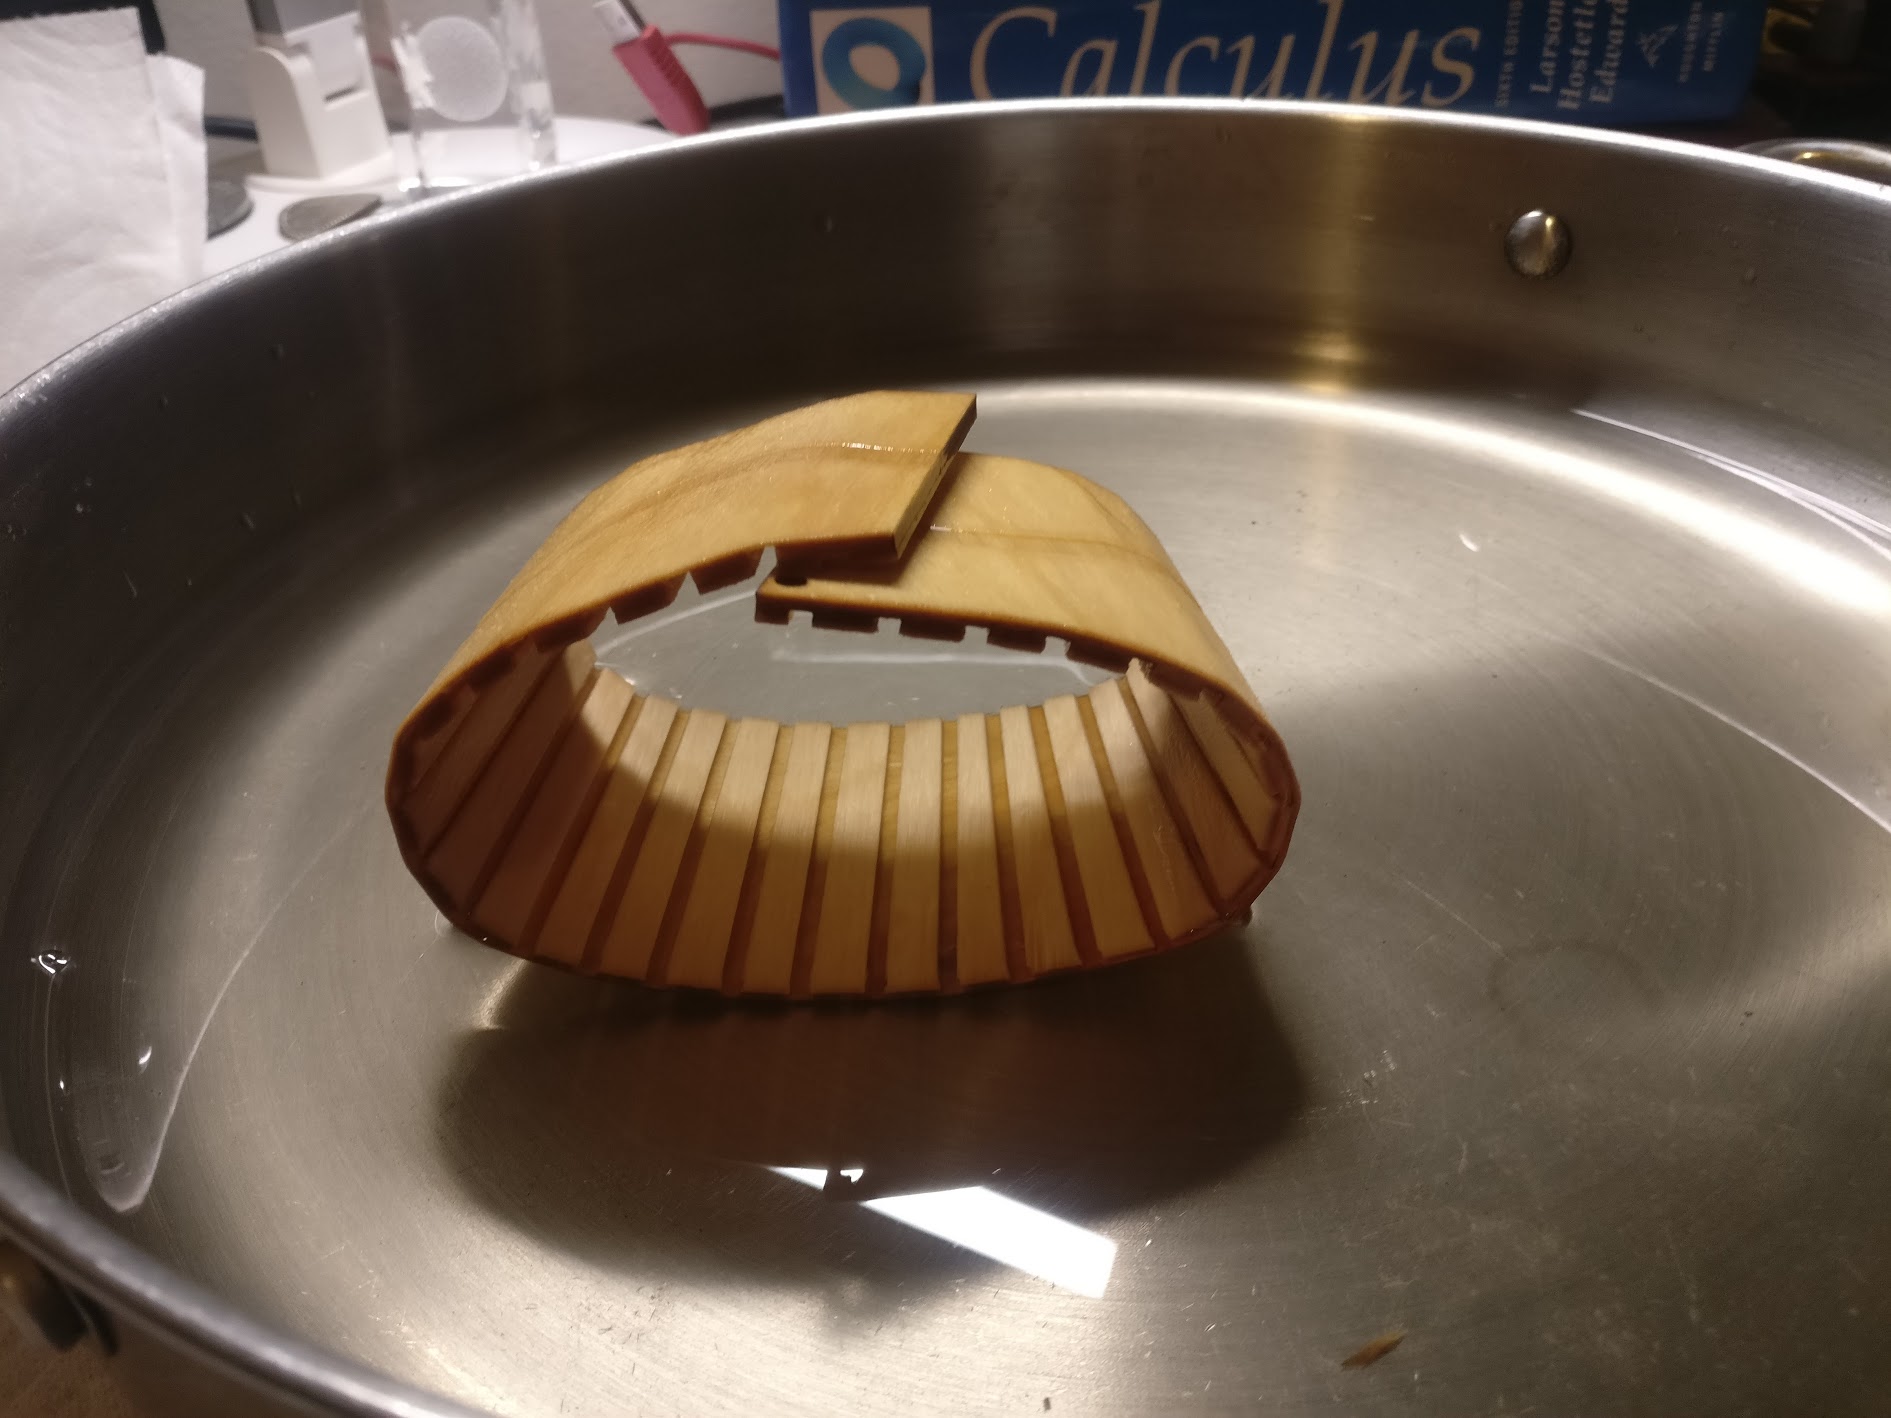
- Pour the water in the dish and place the wood in it. Cook the wood, basically, making sure it thoroughly soaks - keep moving it around
- Use your hands to gently massage the wood into shape - bending it over and over again, little by little, until eventually (with enough time and heat and soaking) the desired shape/ flexibility is reached. Time is necessary for the wood to become flexible enough. If you've been massaging for an hour, with no good results, the wood is too thick or you're not pushing hard enough. IMPORTANT: After you've started massaging, you can start bending slightly more aggressively: bend until you feel like it might start cracking BUT do not crack the wood - there's no coming back from that. It's better to be patient
- Remove and pat some paper towels on it to quickly dry.
- Clamp the sleeve onto the wood - relax for a couple minutes - then unclamp, apply glue, and clamp again.
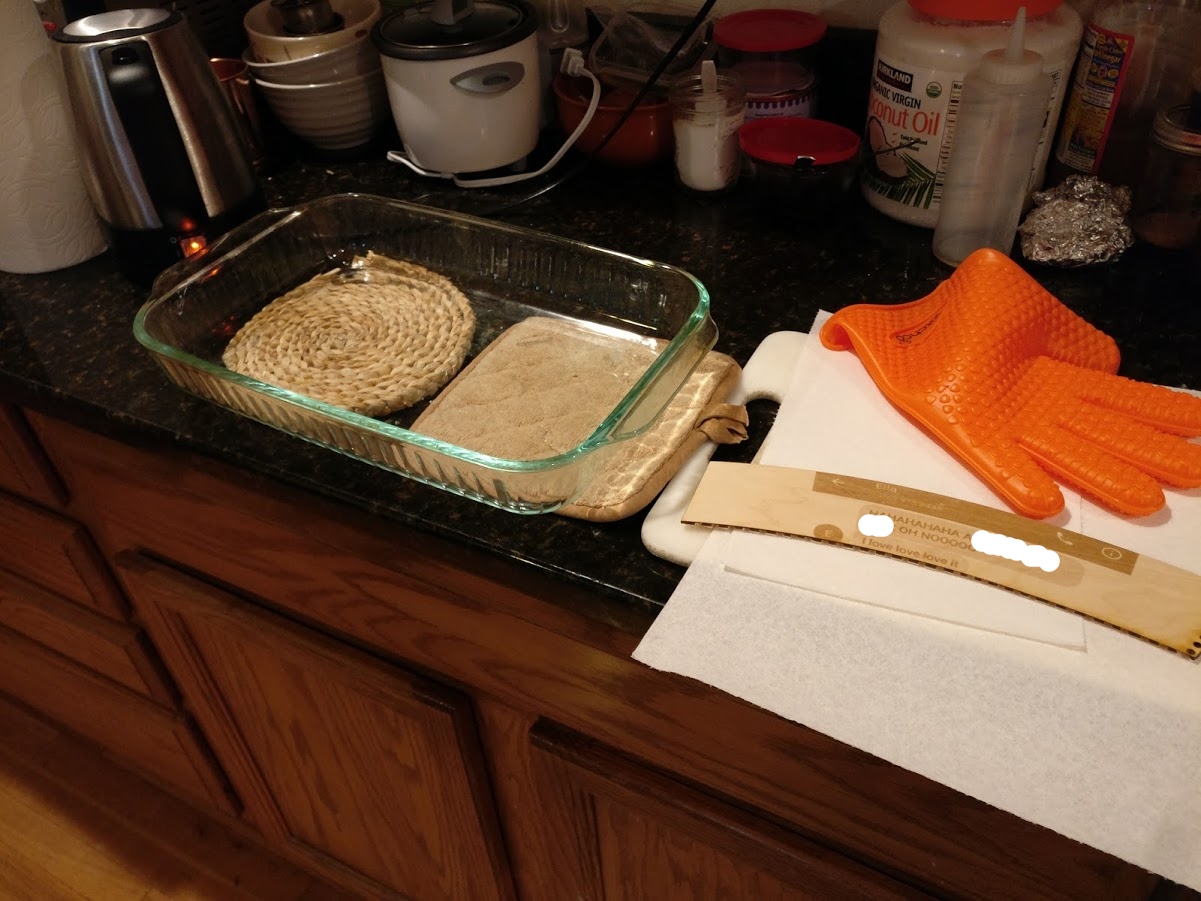
- Make sure to wipe off any excess glue - this is difficult to fix later. And then you're done - job well done! Apply mineral oil (seen in one of the sleeves above) or leave it for a more rustic beachwood look (done with the sleeve with the horizontal grain).
Final result
Introduction
Senior year of high school, I experimented with making laser-cut leather coffee cup sleeve for a friend. You can see some of the progress I made in my portfolio page about laser cut projects.


This year, I decided to make something similar for a Starbucks-loving friend named Ella. However there was one significant difference: Ella is strictly vegan, and therefore avoids leather.
The Process
It was a pretty thorough process if i do say so myself
Part 1: Design Specifications
collecting final designs from previous project iteration
I had already outlined a coffee cup sleeve, traced it in illustrator, and tested it out. This is what the result looks like, with a test design:
Test design
Determining the material
Although I was disappointed that I couldn't use a high-quality material like leather, I looked at other materials that could be used. I went around many craft stores and a leather shop (for comparison). Several kinds of cloth felt flimsy and didn't have the solid feel I wanted. "Pleather" involves PVC - which releases cyanide gas when cut by a laser cutter - and it still didn't feel solid enough. I decided that wood was the only alternative which would still give me the luxurious, well-built feel that I prized in the previous project. I decided to use my favorite material: 1/8" Birch Plywood. I also decided that - since I will certainly be bending this wood somehow, perhaps I should try using soft balsa wood. Although it isn't durable on its own - it is much firmer than cardstock and feels "solid" enough (after applying protective coats to the finished product).
Another thing I kept in the back of my mind is that the material had to be an insulator, or it had to act like one - because the whole point of a coffee cup sleeve is to have a cooler exterior so that the cup can be held without discomfort.
"1/8 inch Birch Plywood is the best material. Period." - Anand Sekar
Deriving designs
The whole idea of the custom coffee cup sleeve was to engrave something personal, hence 'custom.' A requirement is that it had to be as unique as possible. So, I tried two different routes, and went with one in the end:
1. Make something cheesy and personal - put all of Ella's favorite ideas into one design. To confirm I knew her favorite things, I created this false survey. I was aware it was very obvious that this isn't a regular survey "for a friend," but it only added to the suspense and mystery. Furthermore, she knew a gift of some sort was coming her way, so no sense of surprise was significantly ruined. Plus, I'm a stickler for a strict engineering process - and gift giving requires a strong sense of empathy.
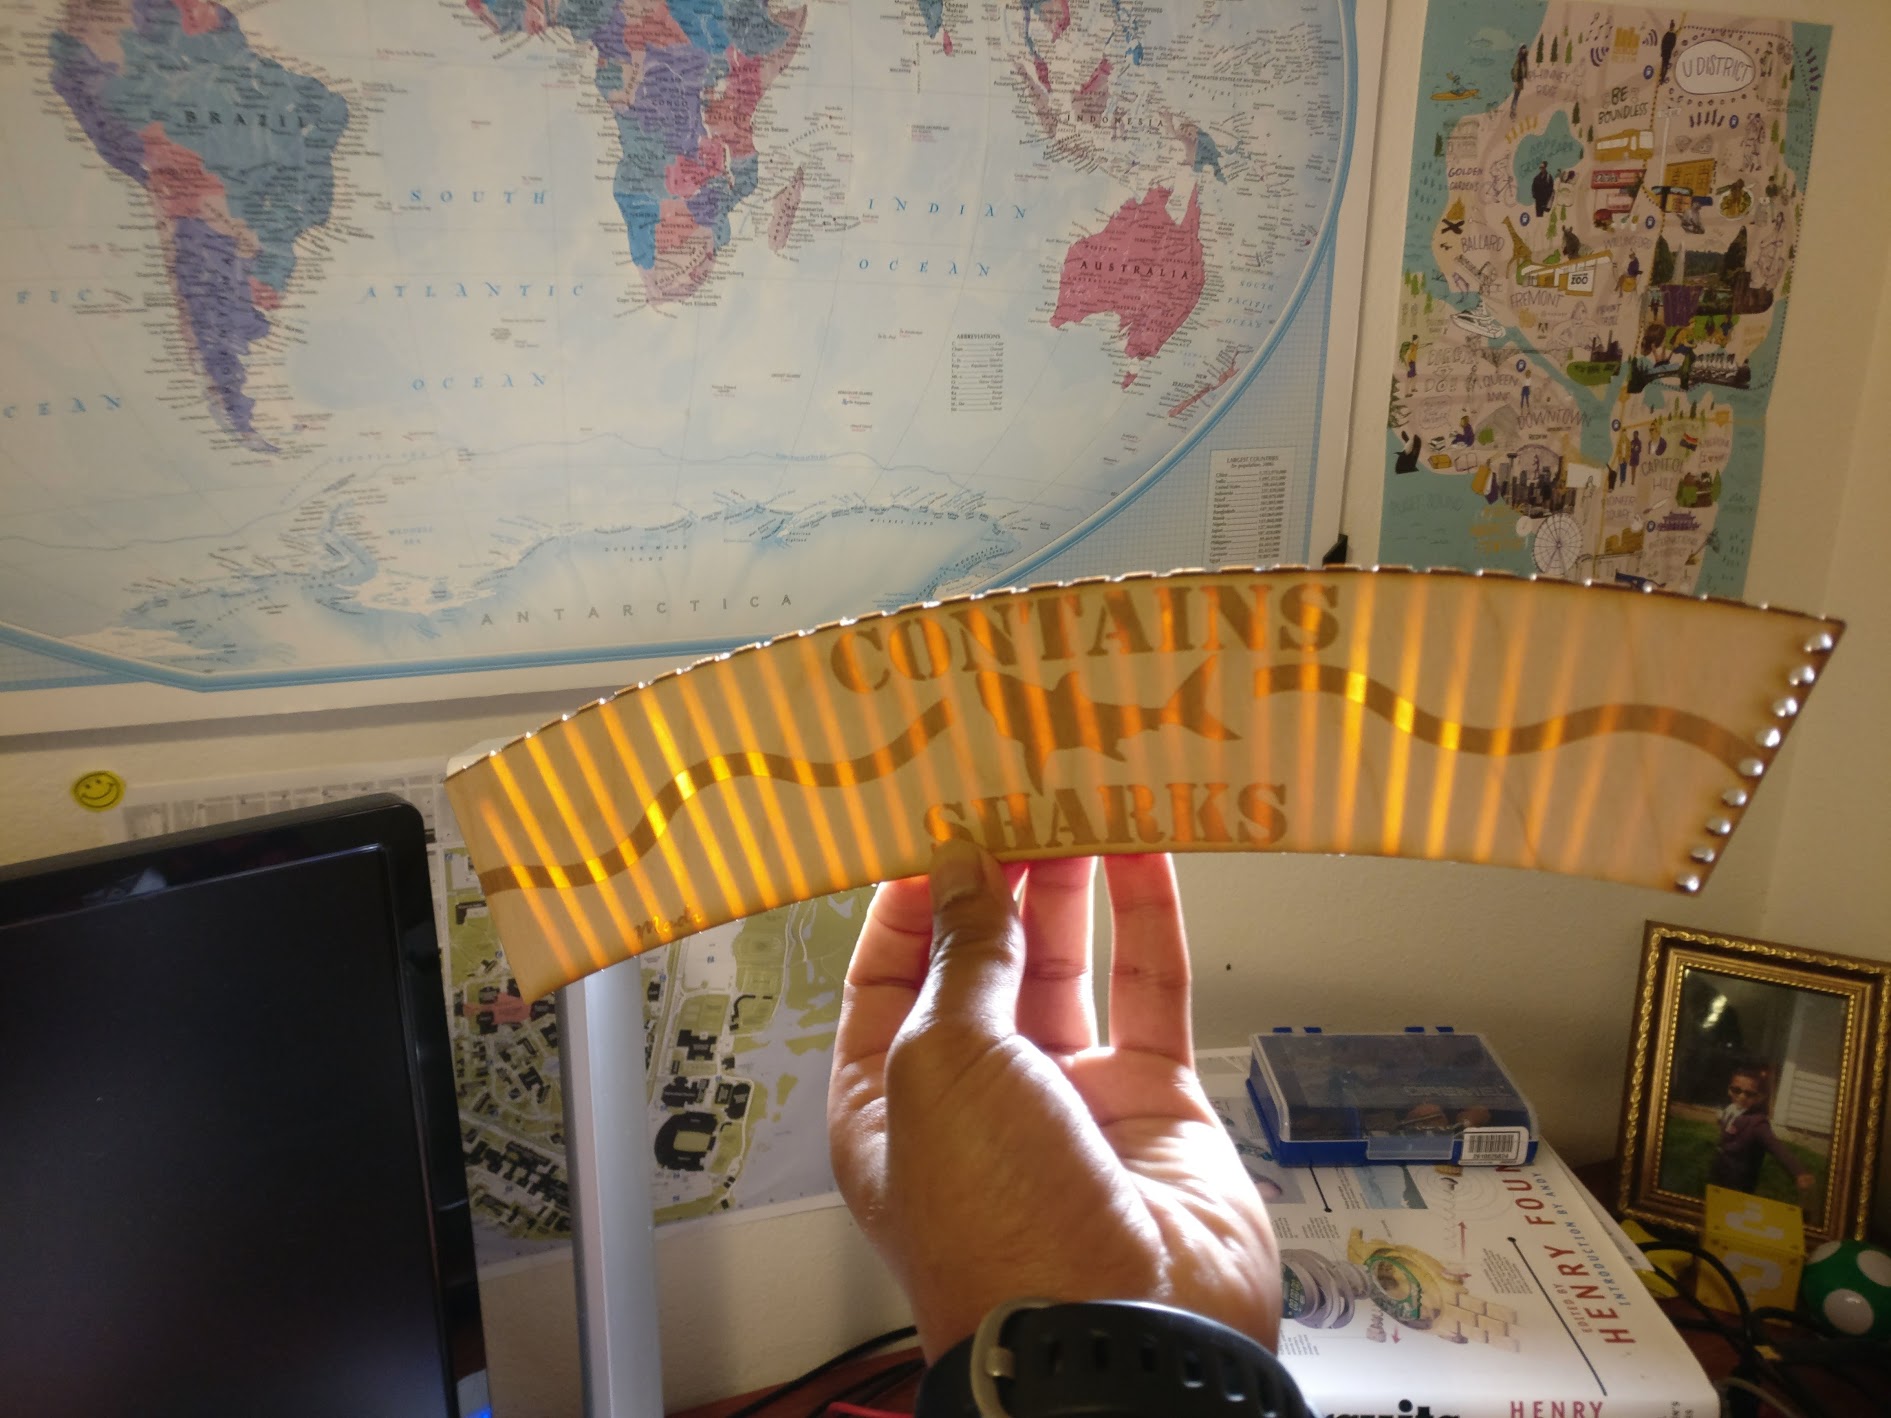
2. Make something sarcastically personal - take a screenshot of an inside joke formed through our text messages. I made sure I followed through with this idea thoroughly. I made it very personal. Below is a censored and annotated version of the subject matter. This may be confusing, but the inside joke formed from a conversation taken out of context: we were talking about two different things at once, and she responded to those two very different things in one set of texts. I repeatedly used that screenshot of the texts as a joke, and that's how it became personal. It would be perfect for the design.
A user survey for idea 1
A screenshotted joke for idea 2
Design 1:
Design 2:
testing woodbending
I began by laser-cutting out my test design on 1/8" birch plywood (above) and balsa wood (below).
My favorite machine - the ULS 1' x 2' laser cutter
Birch plywood (above) and balsa wood (below)
I had research how to bend wood, and it seemed that steam bending would be the best way to do this. I didn't have the time to make a proper steam rig - so I basically had to boil water and soak wood in it for a while. Ammonia bending, although would be an ideal solution, was not in my time/ money/ resources budget. I quickly realized that I was not able to bend it enough without modifications.
It should be noted that I pretty much did this project in one day.
The resources I used include:
- UW Bothell Makerspace
- Its very helpful staff
- Ivan Owen, the maker of Enabling the Future, and
- Tod Mass, my former woodshop and engineering teacher at Canyon Park Junior High
I shuffled between home, UW Bothell, and Canyon Park Junior High several times - getting advice from Mr. Mass, from Ivan Owen, using makerspace tools, using materials at home, etc... Once I realized the wood would not bend (there's a potential pun somewhere there), I felt out of options. I asked Mr. Mass for advice, and he mentioned the living laser-cut hinges (as used in my ALS HID Version 1). This was not an option because I would not be able to engrave a design on the surface. Another suggestion Mr. Mass made was making kerf cuts on the back. If you look up kerf cut bending, you can see how it's an effective technique for wood bending. However, I did not have access to a tablesaw, but I did have access to something better: A CNC machine at the UWB makerspace. I brought this idea to Mr. Owen, and he approved of it. He effectively guided me through how to use the CNC machine. I added lines (where the kerf cuts would be) to my outline. Then I used the scrap material from my previous cut as a rig to hold the already laser-cut wood in place during the milling. I experimented with several different depths of kerf cuts, and I don't currently recall the depth other than that it was very specific. When I got home, I soaked the wood in boiling water, and bent it around a cup with relative ease. At this point, I decided that since the birch wood worked, I didn't need the balsa anymore.
In short: I combined kerf cuts and steam bending to bend 1/8" birch plywood around a standard cup.


Also, random note, I named the CNC machine. Shoutout to laser cutters and CNCs everywhere, I love you. I'm just getting to know you 3D printers, but I love you too.
Bending the final designs
I cut and milled both designs, and applied the bending procedure. As you can see, Design 2 went very well:

However, Design 1 did not go as well.


Comparison:
why did design 1 get messed up?
I will acknowledge I got a bit impatient when noticing cracks while bending Design 1, however, they would have formed regardless of how long I took. Obviously, thicker pieces of wood are stronger than thinner pieces of wood. It is also true that thinner pieces of wood are more flexible and easier to bend than thinner pieces of wood, i.e. have smaller chances of cracking. After some observation, the results are quite conclusive:
The overall thickness seldom matters past a certain threshold. The cause of the cracks was not due to an incorrect overall thickness, but rather, the differences in thickness throughout the single piece of wood - the differences in thickness caused by the deep laser engravings.
As seen in the first two images below, the cracks only occurred where the laser engraving was cut deeper than the rest of the design. The last image shows how the shallower, lighter part of the laser engraving had no cracks. A way of further understanding this is that areas of different thicknesses bend differently - thinner regions bends more given an applied force than a thicker region given the same applied force. A technical way of saying this is that there are multiple, varying "Young's Modulus" sections within the material in which the stress vs. strain properties differ. Between the sections with large differences in Young's Modulus is where the fractures occur. I'm pretty sure I've come to a solid conclusion.


finishing up
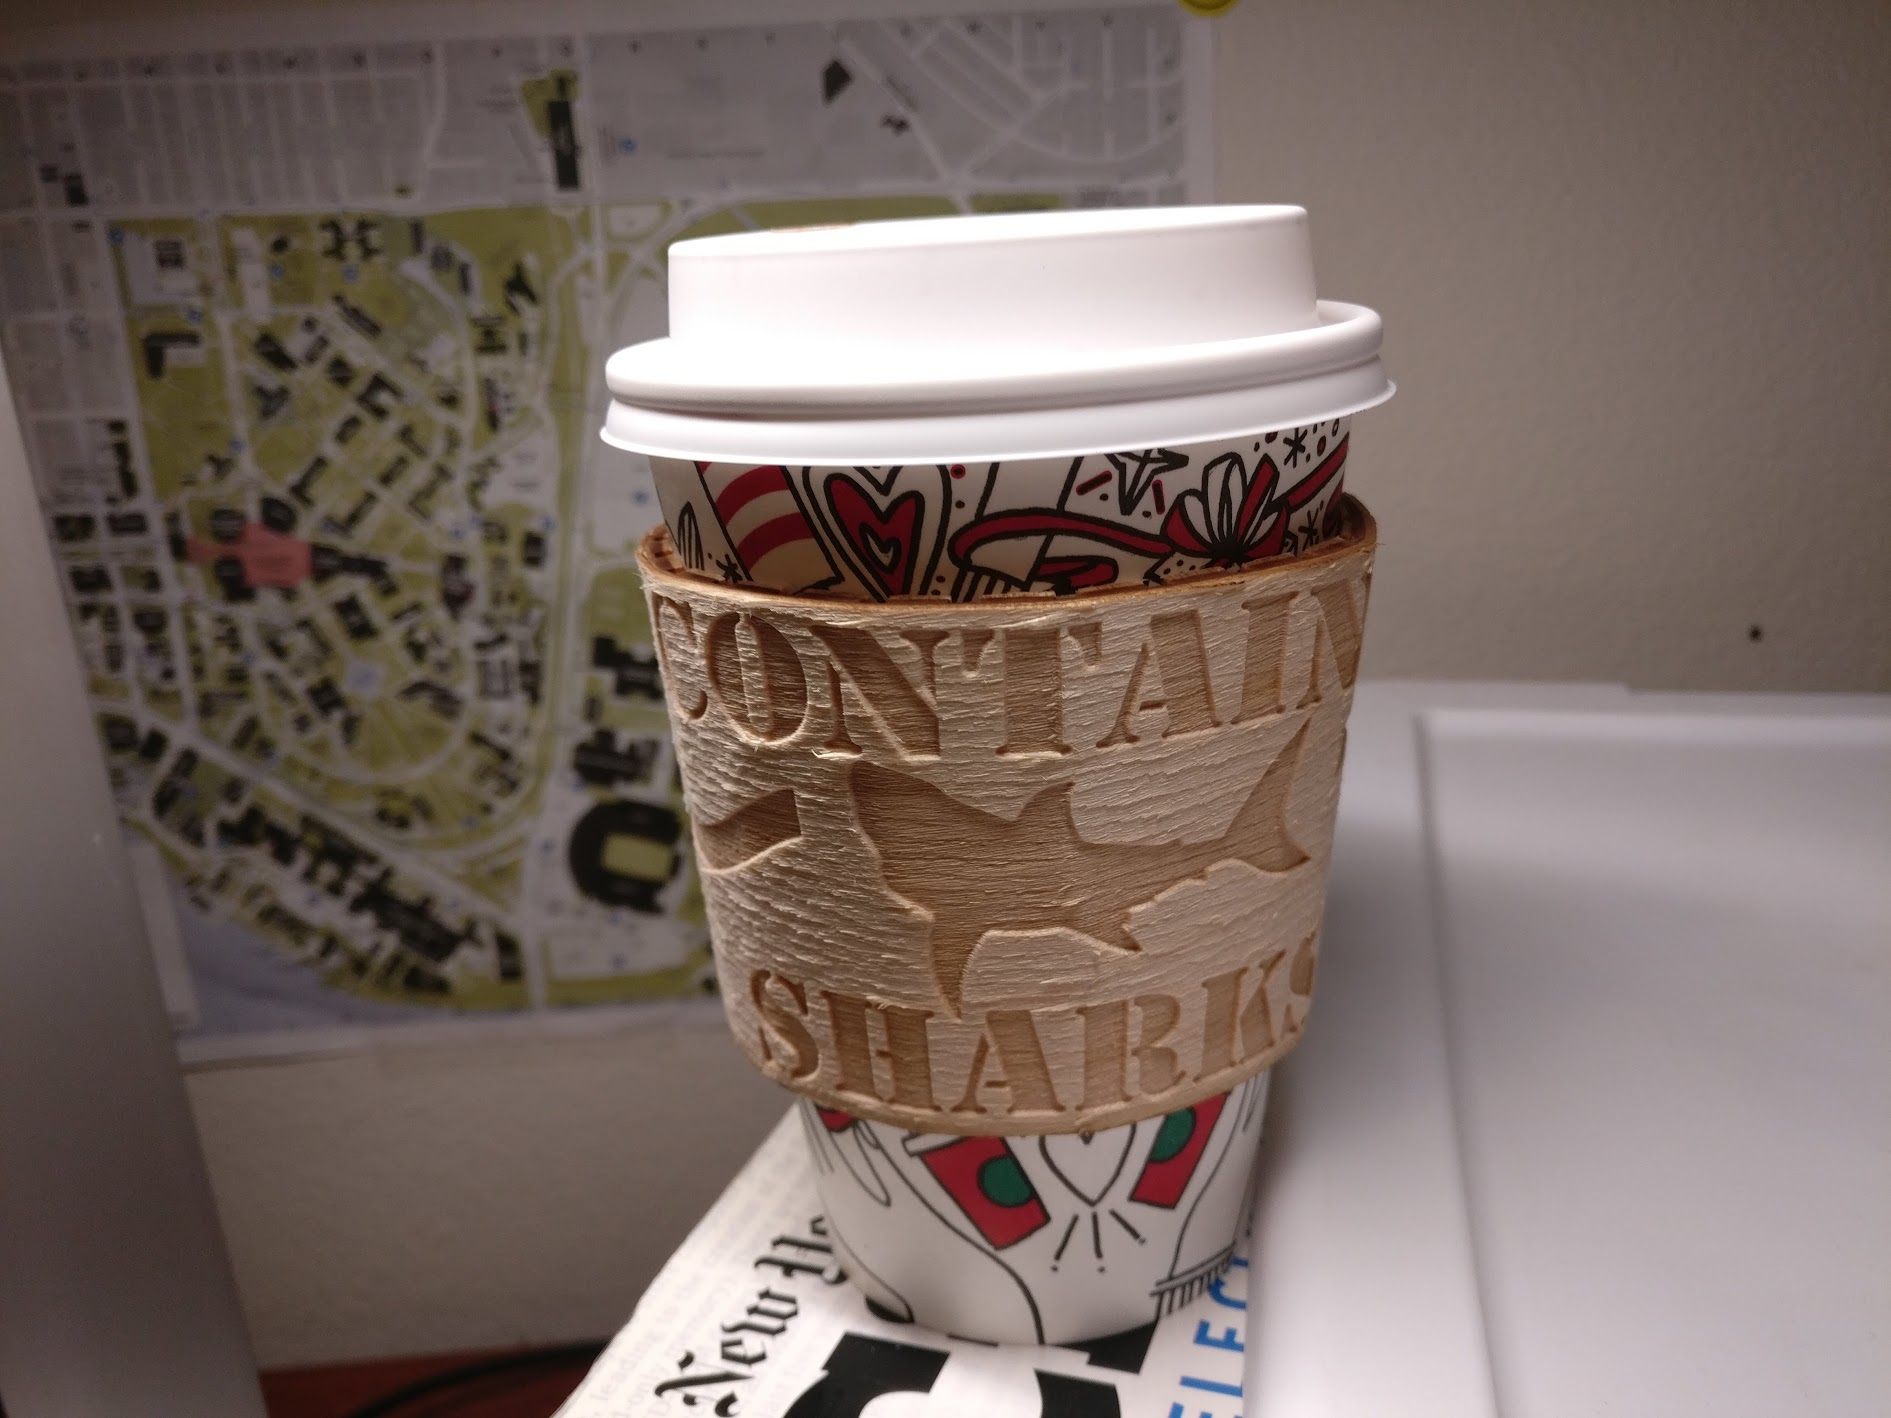
Well, now that Design 1 wasn't an option, I kept going with Design 2. I simply glued the ends with gorilla glue, clamped it, and let it sit overnight.
The day after, I tested applying 2-3 coats of mineral oil to the broken piece to give the final product some protection and a glossy/ transparent finish. It turned out as expected, so I applied it to the final design.
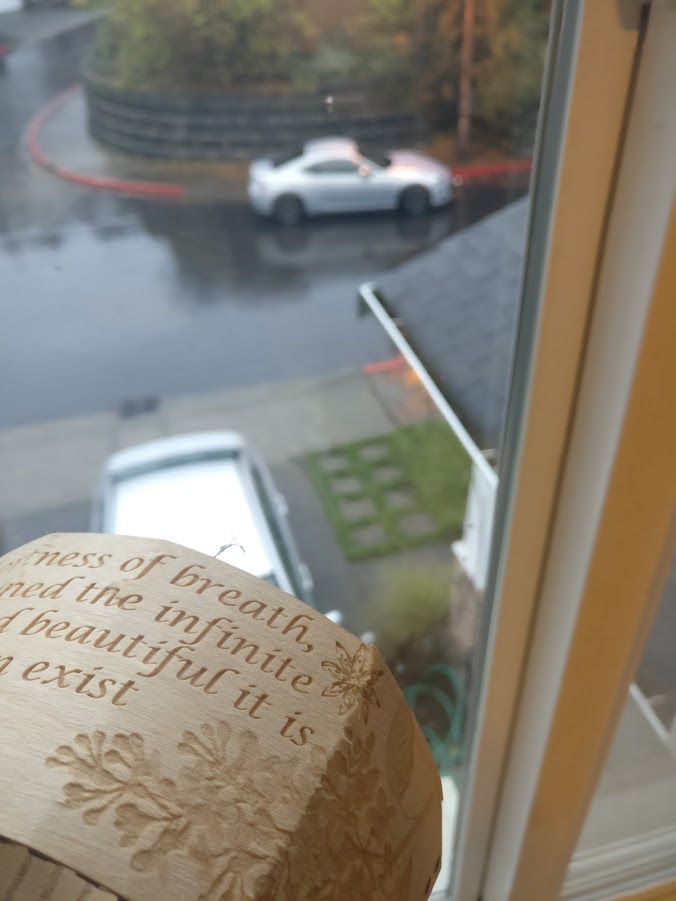
Final Results


A few days after, I gave it to her at Starbucks, and she seemed pretty happy with it. I also realized that because of the kerf cuts, the sleeve insulated very well - more effectively than a standard sleeve.